
From Flat Sheet Metal to Finished Work of Art...
This 4' tortoise sculpture was formed and fabricated from a single 4' x 8' sheet of 16 gauge copper. I will take you through the construction, step by step. There is a video slideshow of the build at the end of this article.

The inspiration for this sculpture was the shell of an African desert dwelling tortoise that my parents brought home from a trip overseas. It is quite old but still in remarkably good condition. I have vivid memories of investigating the shell as a child and teenager. I looked through countless images and videos of tortoises and decided I would make a gopher tortoise, or at least something similar. I purchased a 4' x 8' sheet of copper and cut it into more manageable pieces. I use a Bosch electric shear to rough cut sheet metal if it is thinner than 14 gauge.

I started the shell by cutting an over-sized oval pattern. I hammered this flat sheet into a high dome. Notice the tiny deformations left by each hammer blow. I am using delrin mallets, which are softer than metal, so they do not scar the surface.

Excessive hammering stiffens copper considerably. This structural change in the metal is called work hardening. Heating the copper to temperatures near it's melting point renders the material soft and pliable. This process of making the metal malleable is called annealing. I am using a large "weed burning" propane torch available from Harbor Freight. After heating, I quench the metal in water to quickly cool it down and blast off some of the oxides left by the annealing operation.
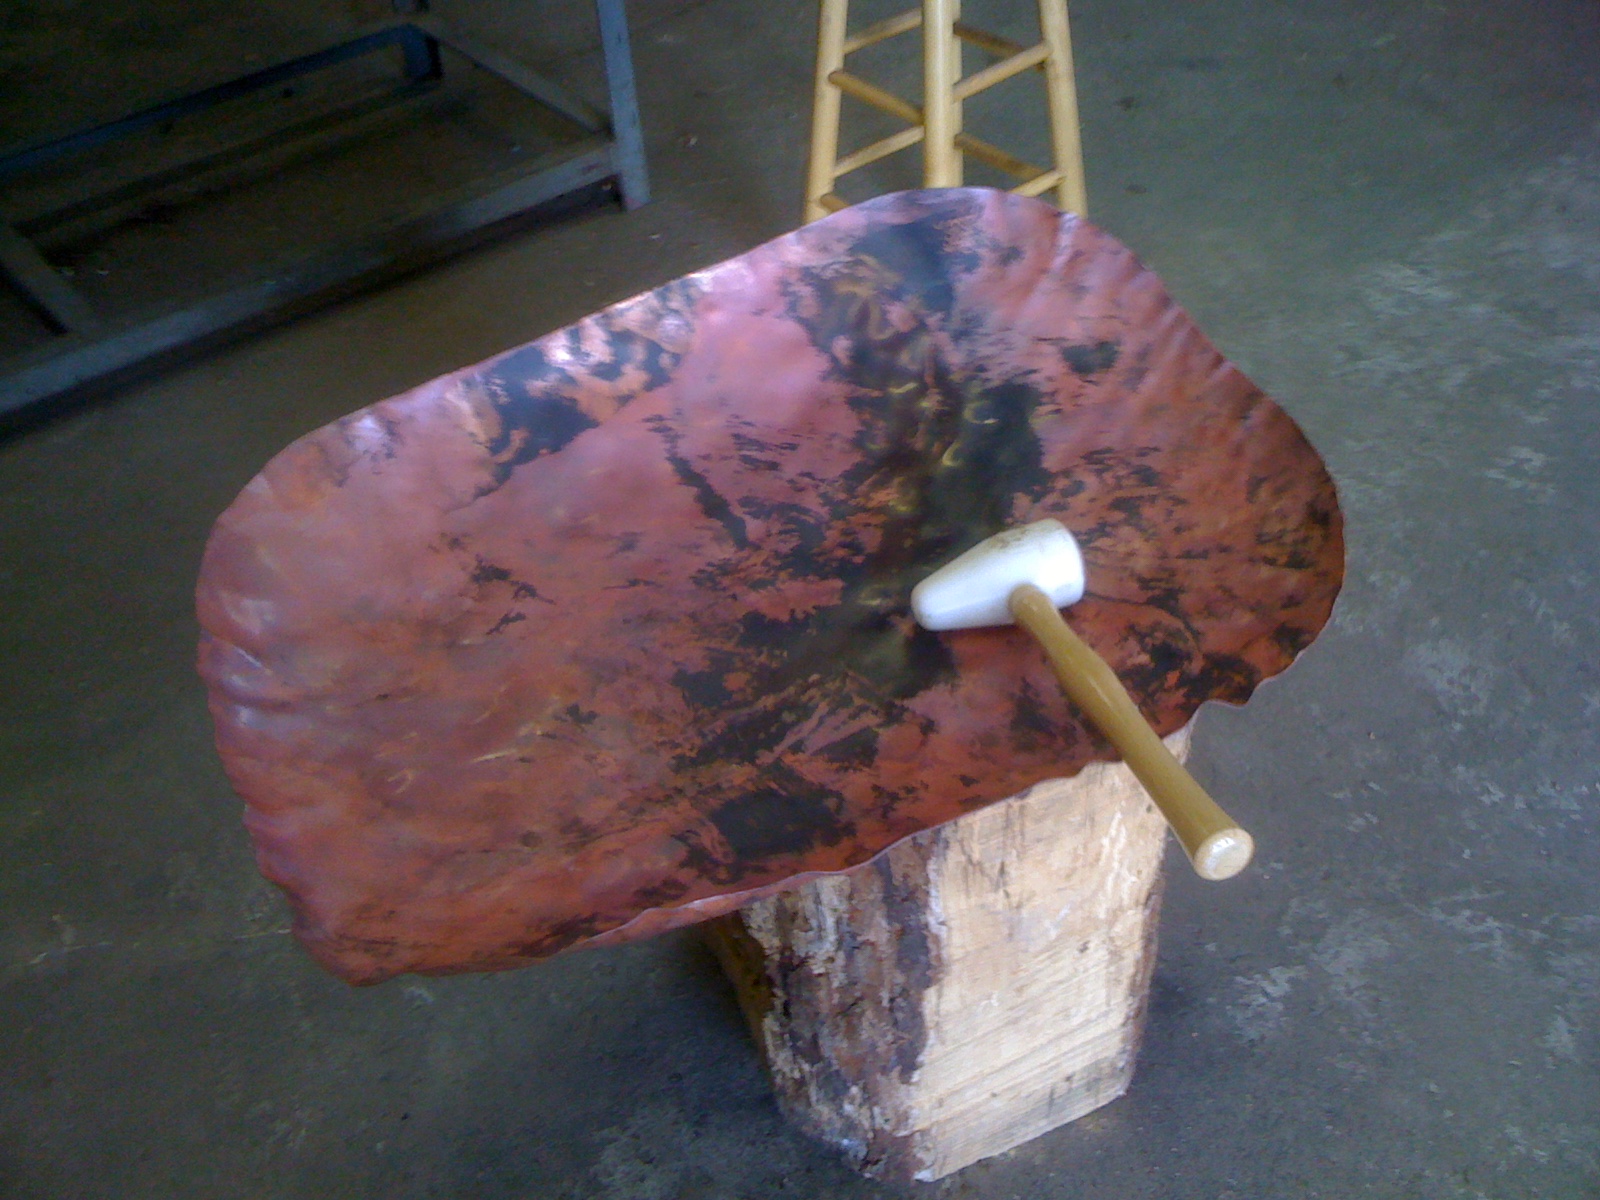
I pushed the sheet into a concave shape by hammering it down into a depression carved into a tree stump. This technique is called sinking. A round of hammering produced an inch or two of depth before the metal became work hardened and needed annealing. I was able to form the sheet in the tree stump until it reached the depth of the carved depression, at which point I had maxed out that tool.

The form after sinking into the tree stump.

To stretch the sheet farther I hammered it into an opening that I cut into my workbench, in essence creating a giant silhouette die (or matrix die). In this photo you can see the edges of the hole digging into the shell form. Because the shell was larger than the hole it did not slip through during hammering.

You can see the opening in the table here. After I had reached the desired depth I trimmed the edges of the copper with the electric shear.

I covered a stack of styrofoam with wet clay and placed it inside the copper dome. The clay supported the metal as I hammered in the contours of the shell. It preserved the shape of the copper during forming while allowing it to continue moving.

I mapped out the sections of the shell with a sharpie and tapped the lines in with my chasing tools. From this point forward the shell was formed using a hand held pneumatic hammer. I use an air chisel designed to cut and chip metal. I modify the chisel tools by grinding and forging them into hammers.

From time to time I removed the shell from the clay backing and put it back into my giant silhouette die. This way I could work the metal from both the front and back sides. Shaping metal by impacting the back and pushing out is called repousse. Working the metal down by hitting the front side is called chasing.

I frequently flipped the form back over and repositioned it on the clay backing after working the metal from the inside to refine the divisions in the shell.

These stepped layers were pushed out from the inside of the form using the pneumatic tools, and then refined from the outside.

I chose to work each section of the shell to completion before moving on to the next. I like to get an idea of how things are going to end up looking while I am in process.

I formed a simple plastron (the lower shell) and tack welded the pieces together. A tack weld is a quick, superficial weld used to temporarily hold metal together. I would need to separate the shell later to attach the body parts. A turtle's upper shell is called the carapace.

I made a clay model to get a feel for the body proportions and experiment with different poses. This was a satisfying part of the build as the sculpture was developing a personality. I used the same water based clay that I used for the backing while forming the shell.

I made paper templates from the clay model. Once I had figured out how I wanted to assemble the body parts, I traced the paper patterns onto copper. The head and neck were built in four main sections.

In this photo I am annealing the copper pattern which will become the sides of the head. The copper is brought up to a bright red heat to fully soften it.

I began tapping in the outline of the eyes using my chasing tools. I was working over a slab of wet clay. Traditionally, pitch would be used in a scenario like this, but I find working with clay is much quicker and cleaner. The metal will slide around a bit on the clay but repositioning it is simple as compared to heating pitch.
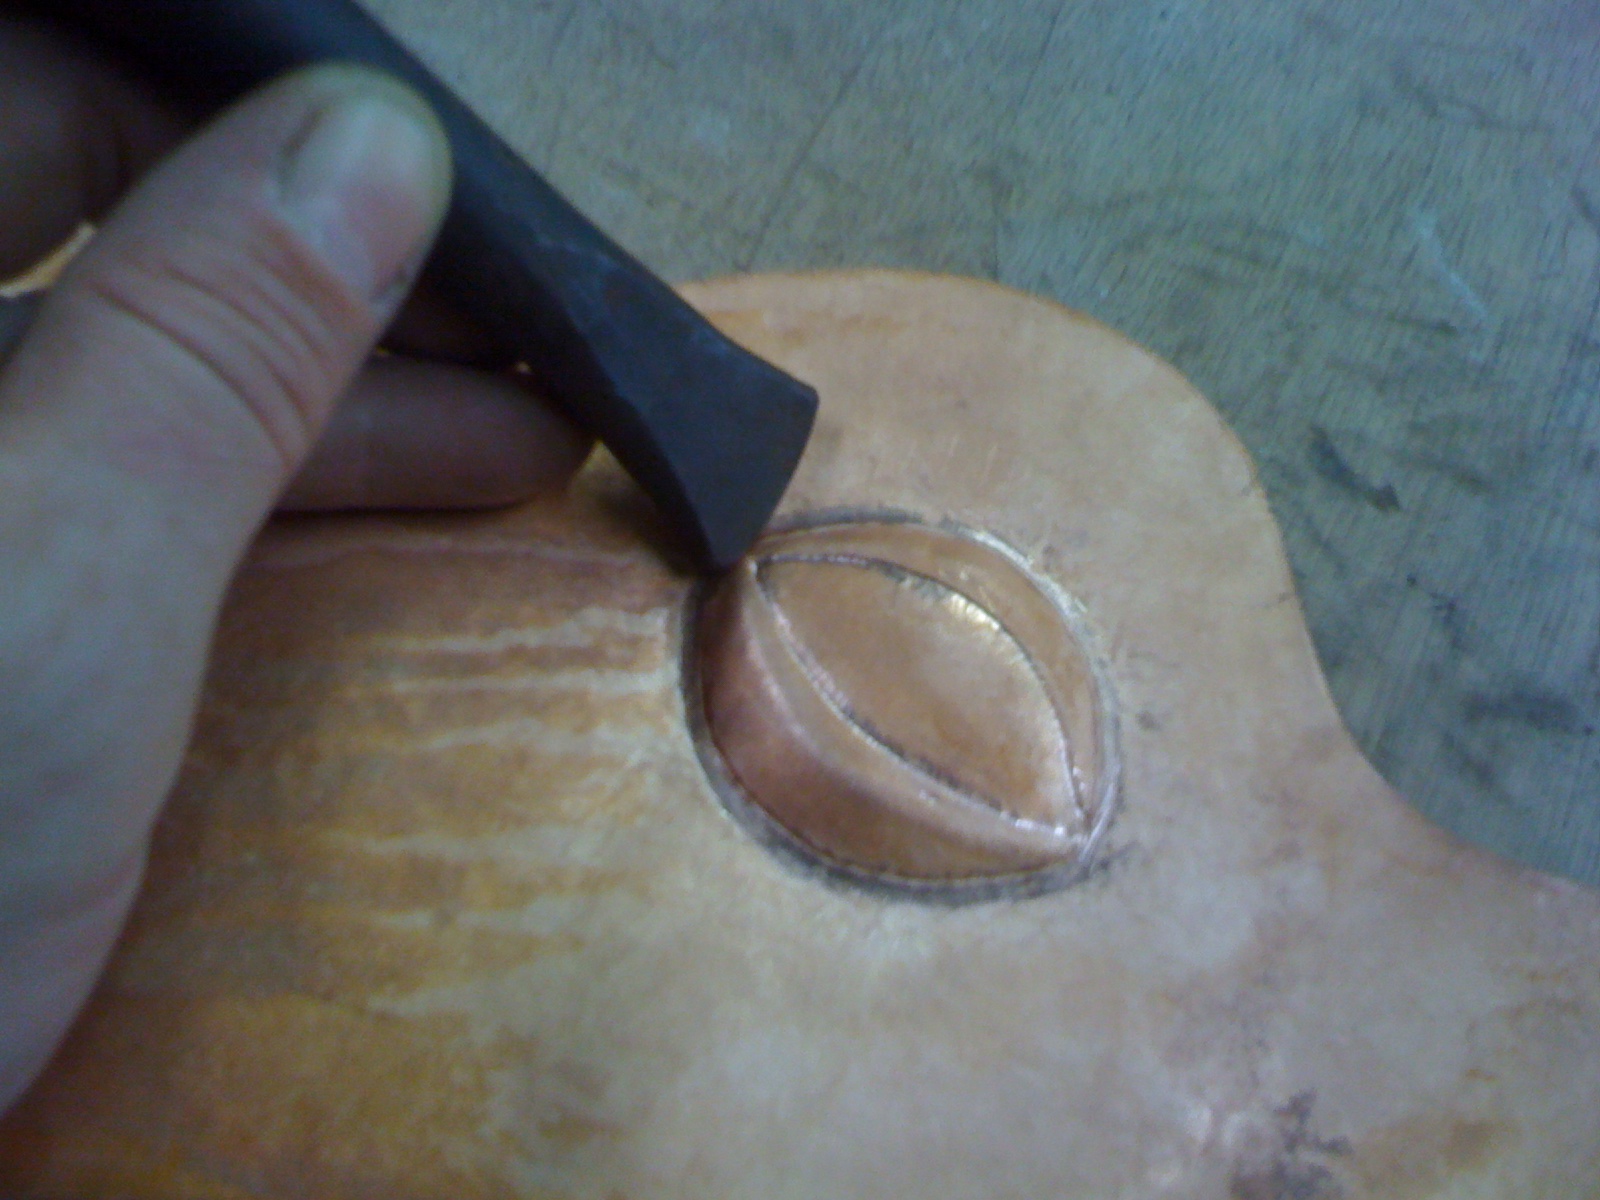
I worked the eyes from the front and back sides of the metal until the basic high and low points were established. From time to time I removed the copper from the clay backing and hammered directly on my wooden table. This produces a crisper line since the metal is not free to move beyond the hard surface of the table.

I also experimented with hammering on a thick rubber pad. I have used all sorts of things to support the metal during forming including towels, T shirts, carpet scraps, pillows, cardboard, and wax. You can see the variety of chasing tools I used to shape the eyes.

In this photo the completed section has been cleaned in acid to remove oxides left behind by the annealing process. The pinkish-orange color is what pure, untarnished copper looks like.

I formed the top section of the head based on measurements from the clay model. No paper pattern was required for this simpler shape.
I TIG welded the two pieces together and sanded down the weld bead. Hammering over the weld zone helps to blend in the connection and create an invisible weld. It is important to anneal the weld before hammering or it will crack.

By this point I had been working on the sculpture about 150 hours. I was saturated with tortoise imagery and factoids. I was haunted by turtle dreams.

In this photo the jaw has been formed and tack welded in place. I do my copper welding with a Miller syncrowave TIG machine. I used de-oxidized copper filler rod which has a little phosphorus in the alloy to help keep the weld clean. I have also used copper electric wire as filler with good results.

To form the neck I made a copper cylinder and crushed it in my hydraulic press like a giant soda can. I helped direct where the metal would crinkle by hammering on isolated areas, creating work hardened zones and softer annealed zones.

The fit between the head and neck was not quite right so I added a patch to fill in the gap.

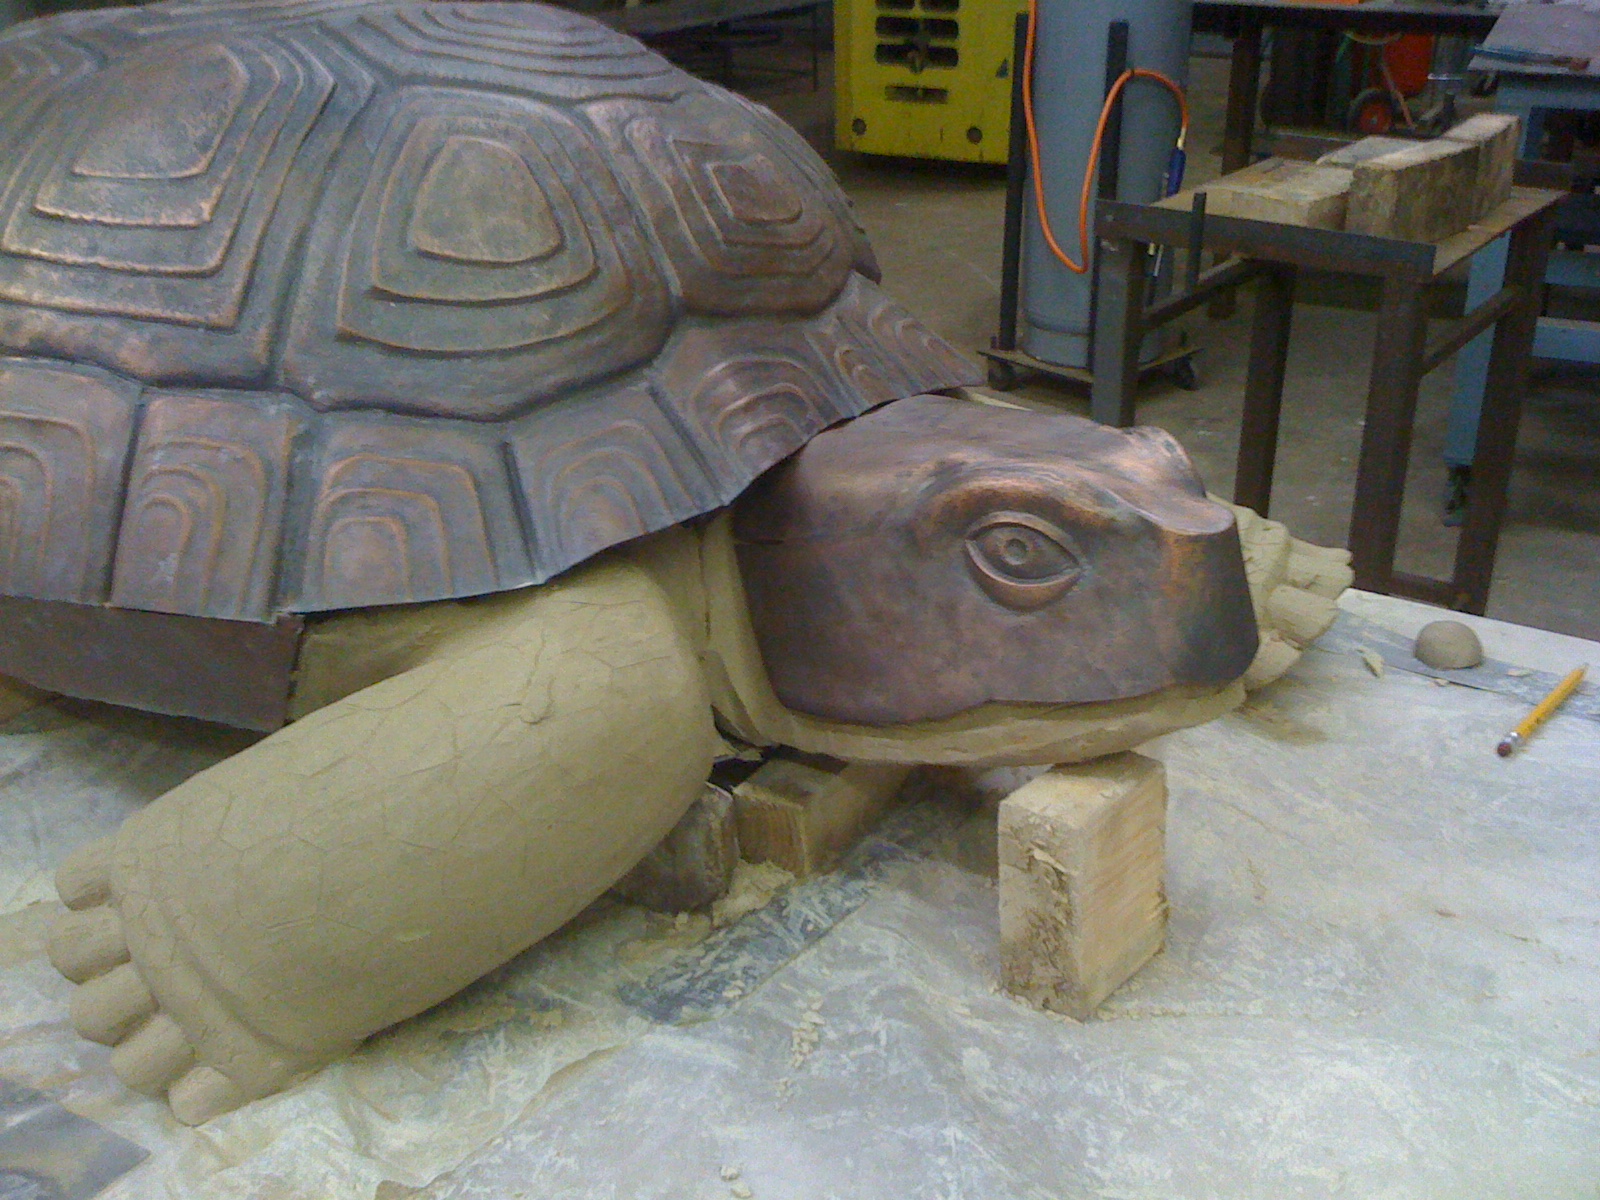
The completed head after welding, sanding and cleaning. I use a weak mixture of sulfuric acid and water to clean non-ferrous metals. An acidic bath used to clean metal is called pickle. Acids are usually used warm to speed up the process. I have also used vinegar or lemon juice to clean copper. It works okay in combination with some scrubbing with a scouring pad. I prefer lemon juice of the two grocery store options.

A tortoise's front legs are flat and wide. I broke the legs up into three sections - a front and back below the knee, and a cylinder above the knee.


After the formed parts were welded together I began playing around by positioning them to find a dynamic pose. I decided to add the scales later and continued making body parts.

I made the toes from copper pipe that I cut at an angle and capped with copper sheet. The caps were silver soldered to the pieces of pipe with a high temperature solder used in jewelry production.

The toes were welded to the inside of the legs.

The paper templates for the bottoms of the feet. If you can make it out of paper, you can make it out of metal.


To fill in the spaces between the head and legs, I created sections of webbing based on paper patterns.

I clamped the webbing to the empty shell and tacked them in place. That way I could check the fit before doing too much welding. There were some small gaps which I hammered closed from the inside of the shell.

A tortoise's hind legs resemble elephant limbs. I formed two cylinders in my slip roll to use as basic building blocks. The slip roll forms even curves in sheet metal, little by little, through multiple passes.


I cut off the lower portion of the cylinders and unrolled them. It was easier to hammer in the spaces for the toes on a flat sheet of metal. I rolled them back up by hand and reattached them. Some simple deforming of the cylinders, and I had my hind legs. I made some more webbing and a tail.

I filled the limbs and head with a plaster and vermiculite mixture, then added a steel rod to the center of each part. Plaster adds strength and weight to hollow sculptures, protecting them from unpredictable accidents which could cause damage. The rest of the sculpture was filled solid as well, so it is fairly indestructible.

After the plaster set up I chased in the scales and did some surface refinement. The final smoothing out of the sheet metal skin is called planishing. The vermiculite additive made the plaster just compressible enough to do some minor forming.

I welded the limbs together with a simple steel armature, made sure all the gaps between the limbs were closed up, and cut a large hole in the plastron so I could fill the sculpture up with plaster.

Reattaching the carapace was a bit challenging. The parts had all moved around a little and the shell no longer fit nicely. I annealed the shell and squeezed it with a ratcheting strap, welding as I moved the strap from front to back.

The last step of the building process was flipping the poor guy over and filling the body cavity with nearly 100 lbs of plaster. The table top I cut to form the shell came in handy again as a brace.


The final touch was giving the sculpture a nice, even color called a patina. I chose to use liver of sulfur (liver potash) which gives copper a weathered, aged look. Liver of sulfur is an acidic patina chemical that darkens the metal. Copper and copper alloys like bronze and brass will develop their own patinas naturally over time. The liver of sulfur is simply a kick start for the process.
After the patina was dry I scrubbed the sculpture lightly with a scouring pad to bring out some copper highlights. The patina was rubbed off of the high spots but remained dark in the low areas. This technique adds some visual depth to the relief. The sculpture was sealed with a coat of wax. The wax can be reapplied semi-annually to retain the current patina or the sculpture can be left unsealed and it will begin it's own patina process.

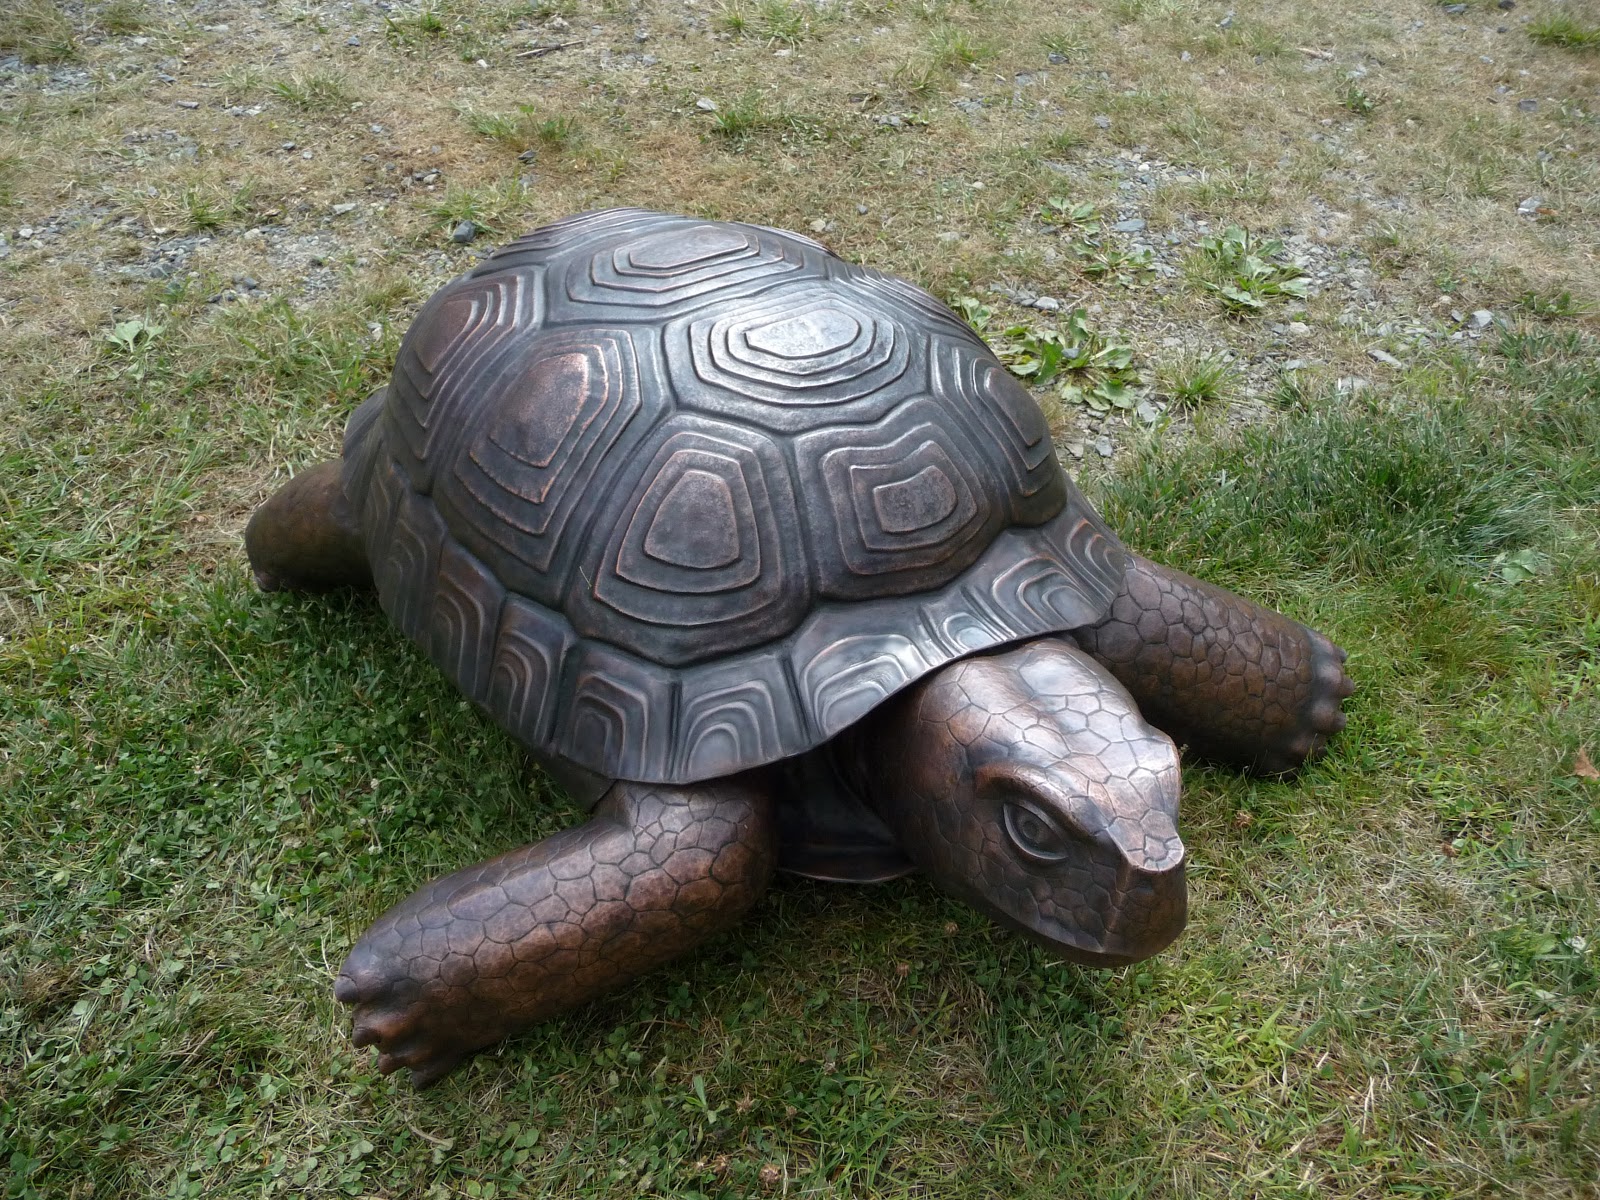
Finished 4' copper tortoise sculpture by Jeremy Maronpot, 175 lbs.
Here is a video slideshow of the build from YouTube:
how long did it take you to make this turtle?
ReplyDeletehow long did it take you to make this?
ReplyDeleteI worked on this sculpture concurrently with two others. It took 3 months to finish all three but I think 2 months of it was working on the turtle. Probably 350 hours or so.
ReplyDeleteImpressive work!
ReplyDeleteTotally Incredible. Love your work. Whatever the price tag was on this, I'm sure it doesn't equate to the amount of hours and talent it took to create it. Best of luck to you.
ReplyDeleteCopperman1
ReplyDeleteDo you use harris 15 rod on your work to weld
copper parts together?
I used deoxidized copper filler ( a little phosphorus added I think) but I also use copper electrical wire as filler sometimes. TIG welded
ReplyDeleteMetal Art is simply amazing. This is so cool and the time it took must have been crazy. I looks so life like and also looks awesome as well.
ReplyDeleteOh WOW! Just stumbled across this. The tortoise is so amazing. Is he perhaps on display anywhere that the public can view?
ReplyDeleteIs your artwork for sale? The tortoise is beautiful!
ReplyDeleteI have a few items for sale, including the tortoise, but most of my work is commissioned.
DeleteYou can contact me through my website at www.maronpot.com
Wow Jeremy you really inspire me. Your work is just amazing. I can't tell You how much I appreciate you sharing this process. I look forward to seeing more of your work.
DeleteWOW very inspiring pieces you have the Tortoise is incredible well done...
ReplyDeleteJason
I have worked with sheet metal steel, but not copper.
ReplyDeleteYou told me before you like to use 16 gauge if you are going to weld it, are you soldering, or using TIG?
I am going to get some lumber to create a carved 3d mold of a statue, and from there I would like to chase the metal to form and rivet certain areas together, to create a shell.
any suggestions as to what kind of wood I should use?
I don't want to get something too soft or too hard; although I see that clay can be used, it makes me think that pine would be okay, because there are not a lot of details just curves.
what do you think?
I sometimes braze objects that are small or medium size, but not large sculptural pieces. To braze or silver solder the seam must be perfectly tight, so you can't see light through it. That's tough to do with a long seam along compound curves. With TIG you can fill in any gaps between pieces. It's tough to weld material thinner than 16 gauge, although it is possible to weld foil if you have the right machine and flawless technique. Silver soldering/brazing can be done on thinner material but gets challenging with thicker stuff.
DeleteI wouldn't spend much time on a wooden mold. The metal won't pick up details that way, more for very roughly pushing the metal into shape and establishing your compound curves. The wood will be fairly damaged in the process so use something cheap and quick.